Embroidery is more than just sewing fabric; it’s also weaving patterns, narrating tales, and using fabric and thread to add texture and color. Knowing the various embroidery stitches gives you a more comprehensive toolkit, whether you’re adding detail to clothing, making hand-stitched textile art, or adorning a cushion. This blog will discuss some of the most popular hand embroidery stitches, including their appearance, application, and best practices.
1. Running Stitch


What it is: The simplest stitch is the running stitch, which involves raising the needle through the fabric, lowering it again somewhere in front, and then repeating. It produces a number of tiny “dashes.” (MasterClass)
Use cases: It’s great for creating outlines, shapes, basic patterns, and lines in the quilting style. It’s frequently one of the first stitches that newbies learn because it’s so easy.
Advice:
For a neat appearance, maintain a constant stitch length and spacing.
You can add texture or rhythm by changing the length and spacing.
If you require greater durability when using it as an outline, you may go back and reinforce it (for example, by switching to a backstitch).
2. Backstitch


What it is: Each stitch in backstitch overlaps a little bit; to create a continuous line of thread, bring the needle up front and back down behind. It’s neat and sturdy. (Source: Wikipedia)
Use cases: Perfect for fine details, lettering, and defining shapes. This is the standard when you require a clearly defined line.
Advice:
For a smooth line, try to maintain consistent stitch length and spacing.
Use this for motifs where the outline should be prominent or where you may fill in later.
When sewn onto apparel or accessories, it endures well over time.
3. Satin Stitch

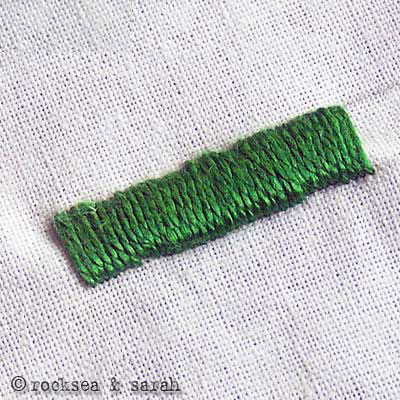
What it is: Shapes are filled with satin stitch. Until the entire shape is filled with thread, you stitch straight, closely spaced lines, typically parallel. The end effect is a glossy, smooth surface. (Wemyss School of Needlework)
Use cases: Filling in monograms, petals, leaves, or any other shape that requires a clean edge and a block of color.
Advice:
For a consistent sheen, keep all of your stitches going in the same direction.
To prevent puckering, make sure the fabric is taut (in an embroidery hoop).
The fabric may become distorted if the thread is pulled too tightly.
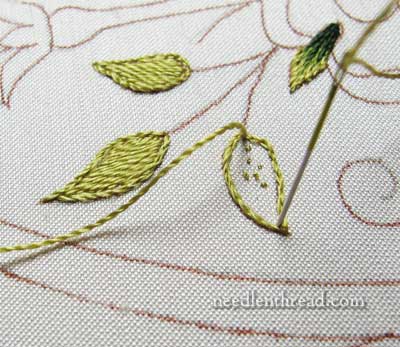
4. Chain Stitch (and Detached Chain / Lazy Daisy)
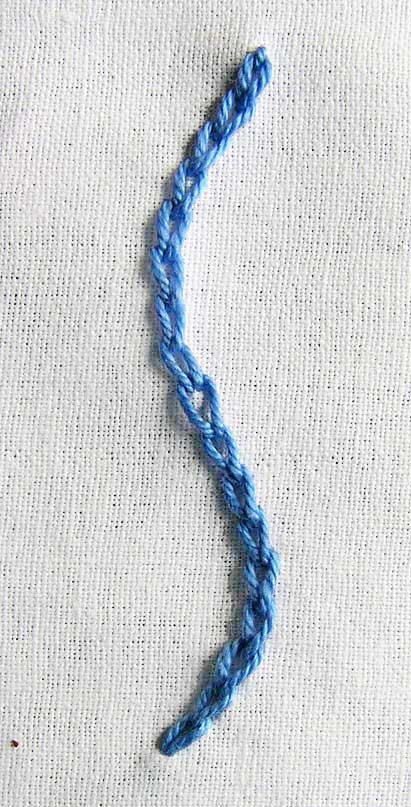
What it is: A looped line that looks like a chain link is produced by the chain stitch. By anchoring each loop at one end, one variation, known as the detached chain or “lazy daisy,” is utilized for petals or leaves. (Hooping Embroidery)
Use cases: For character-filled outlines, floral patterns, ornamental borders, and texture addition.
Advice:
To prevent detached chain (petal shapes) from lifting, be sure to anchor the loop at its tip.
For a striking effect, use thread colors that contrast.
For a tidy look, keep the loop size constant.
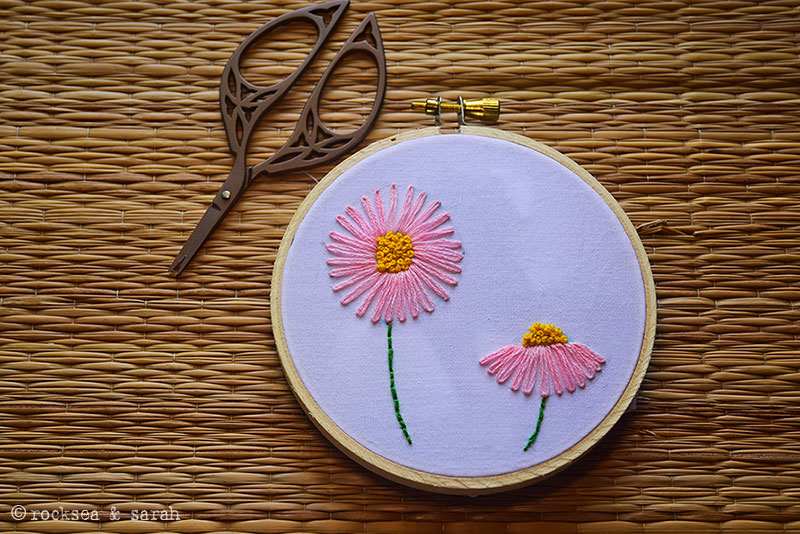
5. French Knot


What it is: A French knot is a tiny, elevated knot that is created by re-entering the thread close to the original hole after it has been wrapped around the needle one or more times. It adds dimension and texture. (Wemyss School of Needlework)
Use cases: Perfect for texture accents, flower centers, character eyes, and small details that require a little “pop.”
Advice:
Practice the tension and number of wraps; if it’s too tight, the knot will vanish, and if it’s too loose, it might unravel.
When tying a lot of knots, use a shorter thread to prevent tangles.
To ensure that the knots sit neatly, keep the fabric taut and stable.
6. Stem Stitch

What it is: Stitching so that the thread looks to twist as you go creates a twisted, rope-like line known as the stem stitch. With the thread looped beneath the working area, you bring the needle up ahead of the final stitch and then insert it slightly behind. (MasterClass)
Use cases: For flower stems (thus the name), curved lines, lettering with personality, vines, and outlines with character.
Advice:
For a seamless spiral effect, keep your stitches at a constant angle.
Because heavier thread can accentuate the twist, choose a thread weight that is suitable for the size of your design.
The stem stitch flows well around curves in your design; for consistency, go slowly around bends.
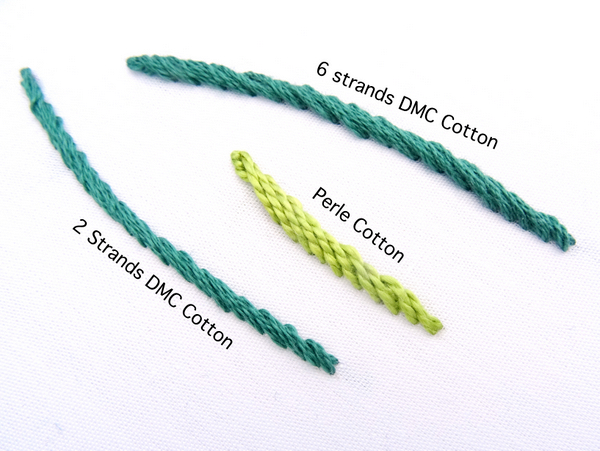
7. Cross Stitch

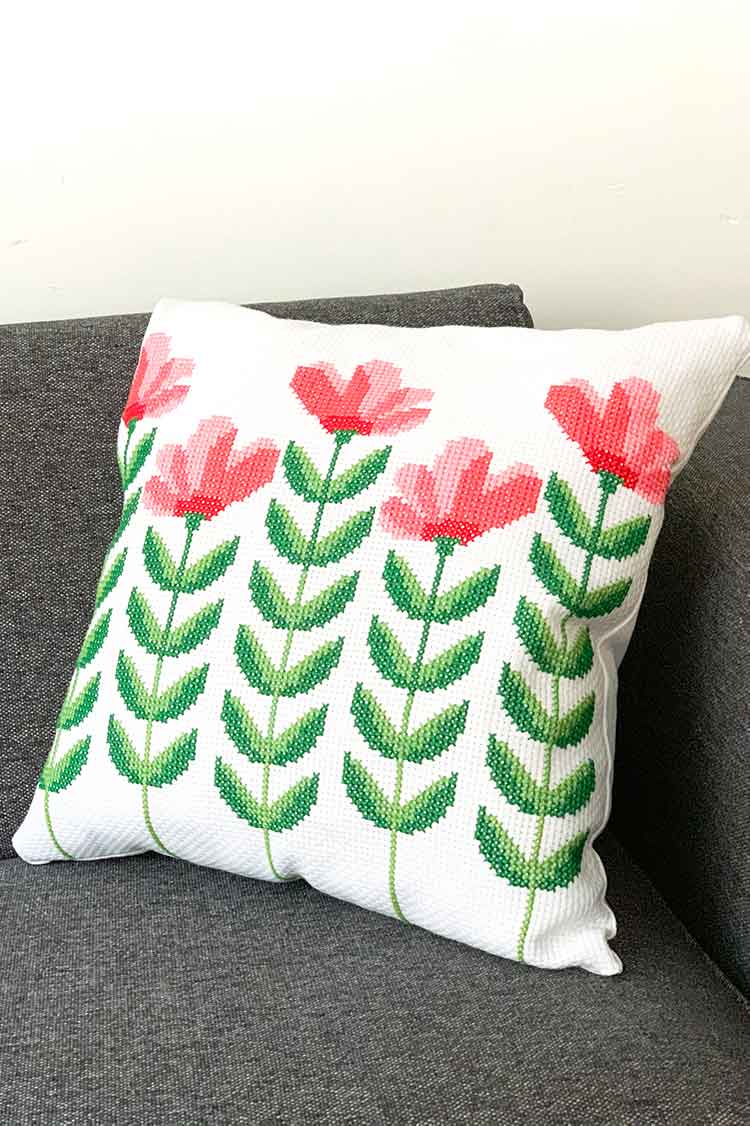
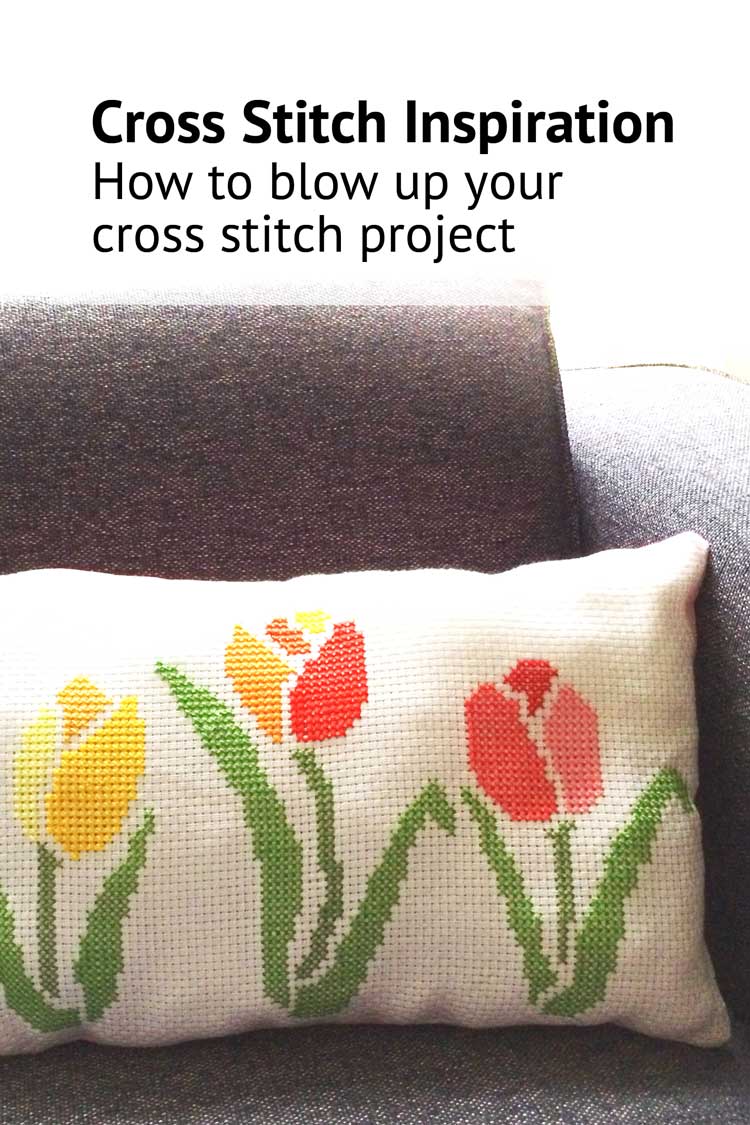
What it is: Cross stitch is the process of creating “X” shaped stitches, typically on fabric with an even weave (such as Aida cloth), so that every square or unit of the fabric is a “X.” It’s very popular for pixelated images and counted-thread designs. (Textile Engineering)
Examples of applications include samplers, motifs, traditional folk patterns, pixel-style portraits, and home décor.
Advice:
For consistency, make sure all of your Xs point in the same direction.
One missed square could cause your pattern to be out of alignment, so be sure to count your fabric squares carefully.
To maintain uniform tension throughout the piece, use a frame or hoop.
8. Feather Stitch

What it is: Alternating diagonal stitches off a central line give the feather stitch—and its variations, such as the fly stitch—a feathery appearance. (Source: Wikipedia)
Use cases: Decorative borders, motifs inspired by nature (such as vines or leaves), and creative seams that join fabric pieces.
Advice:
To preserve symmetry, keep the central spine straight.
The “feathers” can be different sizes; they can be larger for a bold effect or smaller for detail.
For added visual impact, use contrasting thread for the spine and the stitches.
9. Blanket Stitch (Buttonhole Stitch)
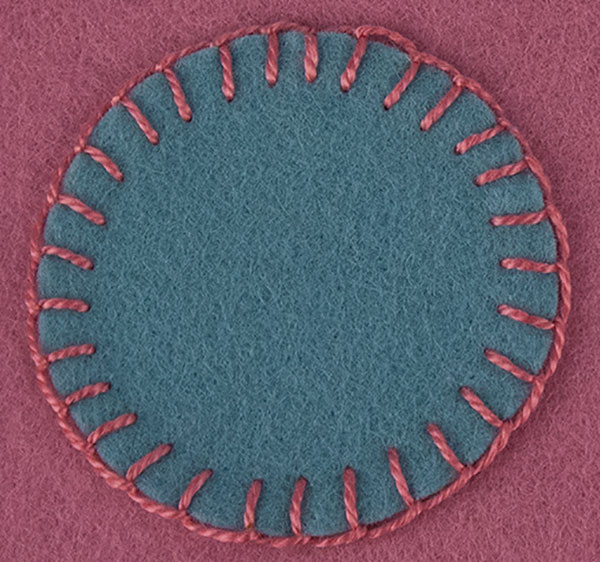

What it is: The blanket stitch is worked around appliqué pieces or along the edges of the fabric. It produces a decorative and useful looped edge. When used to finish buttonholes, it’s sometimes referred to as buttonhole stitch. (Textile Engineering)
Use cases: completing fabric edges, appliqué accents, and ornamental borders for felt projects, blankets, and cushions.
Advice:
To obtain an even edge, maintain a constant height throughout the loop segment.
To prevent it from lifting over time, the vertical portion—the portion that is sewn into the fabric—should be securely fastened.
Use a thread that contrasts with the fabric’s color for a decorative effect.
Embroidery is an amazing craft that requires creativity and accuracy. You’ll have a solid basis on which to build once you’ve mastered the aforementioned stitches (bullion, woven wheels, herringbone, etc.). (Hooping Embroidery)
Here are some final words of wisdom to guide you:
To maintain even tension, use a frame or embroidery hoop.
Investigate blending various stitches into a single design, such as backstitch outlines, satin fills, and French knot texture accents.
Don’t worry about perfect uniformity at first — that will improve with practice. The charm of hand embroidery often lies in its human touch.
Choose thread and needle sizes appropriate for your fabric: too heavy a thread can distort fine fabrics, too small may get lost in heavy fabric.
Your needle and thread are your tools of expression — each stitch is a little brush‐stroke on fabric. Try new stitches, mix and match them, and watch as your designs come alive.
Leave a Reply